Showing posts with label house stuff. Show all posts

Friday, September 03, 2010

Where to begin?


I stopped by JoAnn Fabrics yesterday to check out their fabrics for new curtains. Since I haven't used a sewing machine since Junior High, I know this is going to be a huge undertaking but I figured why not. Plus I haven't really found any premade curtains that I like and they can be so expensive.

I want to take on this living room make over step by step and I like this first step. We have a lot of windows in our living room, so having a curtain that will stand out will help make the room.


I took pictures of the fabrics that I like the best and posted them below. Please weigh in on which ones you like!


Here is the living room... it's a little dark of a picture, but this is how I see the room, slightly dark.


Here are the fabrics that I liked the best at JoAnn's.....


This color is a little washed out in the picture but it is more of a subtle lime green. This is not a fabric that I would normally be drawn to, but I liked it enough that it made the cut.


I seriously love this fabric. LOVE. IT. I don't think it will work in the living room especially since I am looking to lighten up the room. But I will need to find a use for it in a different room :)

UPDATE: Well, Jim surprised me and liked this one the best, so we are going to go with it. I'm not sure the pattern and colors will work with the other rooms, but we like it so there! :)

This fabric had a little metallic to it and i liked the colors and the pattern. The pattern isn't to "in your face" and I don't think this will date the room in a year.

I realize this fabric looks like it should be on the floor as a rug, but I loved the colors. This picture does not do it justice. I liked it for the little pops of color but again I'm worried it might be to dark if I lighten up the walls.

A little more modern of a fabric and I don't think I'll pick it because my den is done in these colors so I'd like a little change from room to room. But I still like it so it stays on the list :)

This is a simple stripe pattern... the colors are aqua, light grey and the little lines are a yellow ish.


The bonus is the fabric is now 50% off.. .until September 11th. So time to make a few decisions.


Saturday, August 28, 2010

Time for a change


Lately when I sit in our living room, I think that it is to dark and a change would be fun. We don't have great lighting in there, we have dark floors and medium dark walls. Plus my creative juices are flowing, so having this project would be fun. I just have to balance it with budget because it is such a big room I want to get the biggest bang for my buck. So I have started looking at different color patterns to get an idea of what we can do. I'd like to go with a lighter paint color, but because the living room is right off of the dining room, I need to make sure the colors are complimentary.


I have so many ideas swirling around that I don't know where to start. I suppose I should tell the husband of my ideas, but I want to have everything planned out before I have to start convincing him that it is a good idea :) Last year at this time I changed the color in our den while he was at his Fantasy Football draft (which lasted 2 days at a lake house). Since he is at his draft tonight (he will only be gone over night) I'd like to make some changes, but I started to think about it to late. Hmmmm... what to do!!?? :)

I searched around the internet for some ideas and I found pictures of these rooms. I am drawn to the lightness of the room, the clean lines and the modern/contemporary feeling of the rooms.


Tuesday, August 25, 2009

New Rug!!

I found an AWESOME deal homedepot.con for a 5x7 area rug. I had been looking to replace a rug that was getting kind of gross in our den. I love the colors of the new rug, but I was hoping for a different more modern pattern since they are so similar. Oh well... a rug for $63 bucks is worth buying a similar rug!

Old dirty rug

New rug- it is soft and thick!
I was so happy because it was so cheap I was worried it would feel cheap.


I was hoping to have a dog hair free rug for at least a day, but Taylor sat on it about 5 minutes after I laid it on the floor.


And of course, Chewie had to be like his sister and get on the floor


Monday, June 01, 2009

He he he he he... we have a cabinet!


Jim and his parents brought the finished cabinet to the house on Saturday. Jim's dad is an excellent carpenter and offered to build us a cabinet for the bar area at the house. This area was just a bar area and we thought it would be better used for cabinet space. There will still be an area to sit at the bar on the other side. Now that we have the cabinet installed, I think we need to get serious about our counter tops. I don't want to say that the kitchen is close to being finished, but getting counter tops is a HUGE step.
I was trying to find a picture of the bar area in the original condition, but I have a LOT of photos and haven't done a good job of labeling them. So for now, I'll leave you with the bar area while Jim and I were demo'ing it


Bar area- was being used an area to store stuff


OOOhhhhhhh pretty new cabinet. Look at all of that storage space!

The kids give their stamp of approval


Tuesday, January 27, 2009

Saving Money, the easy way

I came across an article that gave 50 ideas on how to save money by making small changes. I am going to copy and paste the ideas that I think we will be able to do!


3. Close closet doors to lower the square footage you're heating (and cooling). Shuttering closets along exterior walls also helps to insulate the house.
Cost: Zilch—although it may take a few minutes for your clothes to reach room temperature before you put them on.
Savings: About $50 per year off your energy bills.Bonus: You and your guests won't see closet clutter.
Holy shit... that makes total sense, but I never thought about it!!

5 . Sign up for your utility's time-of-use plan. Many regional power suppliers offer rebates for reducing electricity consumption during periods of peak demand.
Cost: Washing clothes and dishes at night during nonpeak hours, and turning the thermostat up or down a couple of degrees during a cold snap (or heat wave).
Savings: $25 to $50 per month on your energy bills, depending on the season.
Bonus: You're easing the strain on the power grid—and lowering the odds of a blackout.
** I remember having this in Phoenix, but I checked on Austin Energy's website and I couldn't find a plan like this. I plan on calling and talking to them about it.. I'll keep you posted**

6. Make your own cleaning solutions using inexpensive kitchen staples, such as white vinegar and baking soda. See The Green Guide for recipes.
Cost: A few bucks in extra pantry supplies.Savings: $50 or more per year on commercial cleaners.
Bonus: Cleaners that don't contain harsh chemicals are healthier for your household.
I'm all for this... as long as I don't blow myself up from mixing the wrong chemicals together :o)

11. Use your microwave instead of your range; it consumes half the power.
Cost: $15 for the Microwave Gourmet cookbook at Amazon.com.
Savings: $40 or more per year on electricity or gas.Bonus: Having dinner ready in a fraction of the time.
I'm hesitant to use this a lot, but I can see using the microwave to heat up left overs or water for tea instead of the stove top.


13. Insulate hot-water lines. Preformed foam tubes fit right around the pipes, thanks to a slit along their length.
Cost: 29 cents to 35 cents per foot of insulation, depending on pipe dimensions, at Energy Federation.
Savings: $50 per year on energy.Bonus: Halving the wait for hot water to reach upstairs faucets.

17. Set your computer to sleep—not just the monitor, but the hard drive, too—so that it automatically dims after 10 minutes of nonuse.
Cost: It may doze off when you don't want it to and you'll have to punch a key to wake it up.
Savings: $75 per year off your electric bills.Bonus: Like people, screens and hard drives age more gracefully with plenty of rest.

18. Wait to replace your grill, lawn mower, or patio furniture until the fall, when stores mark down their inventory to make room for holiday decorations and snowblowers.
Cost: Making do with what you have this summer.
Savings: $150 or more per item.Bonus: Retailers—especially online ones, such as Target—often provide free shipping on leftover warm-weather gear.

29. Plug in a SmartStrip. Three-quarters of the energy that electronics burn is consumed when the equipment is turned off. Rather than unplug items after every use, hook them up to a SmartStrip surge protector, which automatically kills power to electronics when you turn them off and returns it when you switch them back on.
Cost: $31 for a seven-outlet strip at SmartHomeUSA.com.
Savings: As much as $240 per year in energy costs.Bonus: Two always-hot outlets ensure that slow-to-reboot devices like your digital cable box can be left on all the time.

42. Get free mulch and compost at your town's yard-waste recycling center.Cost: $30 for pickup truck rental.
Savings: $300 for all the amendments you'll need to fortify and cover your raised beds and foundation plantings, per ¼ acre.
Bonus: Unlike bagged products from the home center, compost comes from leaves collected by your neighbors and the mulch from town tree pruning, so there's little risk of introducing non-native pests or weeds.
For those of you in Round Rock, I know there is a place off of 620 that will let you drop off any tree branches/clippings that you need to get rid of (for FREE) and they will let you scoop up as much mulch that you want. All you have to do is bring your water bill. For those of you in Austin, find somebody in Round Rock and borrow their water bill.

Original Article: http://www.thisoldhouse.com/toh/article/0,,20250928,00.html

Wednesday, January 21, 2009

Art Project

I have been wanting to do something with a blank wall in our den but didn't exactly know what. I decided to try painting some type of branch or flower on the wall. The flower scared me a bit, so I decided to go with a branch and some little flowers. I searched on the Internet for some type of inspiration, and I found a few pictures that I liked. I'm not 100% sure that I am satisfied with my final product but I'll give it a few days and see if it grows on me.
My blank canvas

Branches... are the branches to thick?

I had to go back out to the hobby store and pick up some orange paint. I also picked up some deep red and white. I have no idea how to draw a flower with depth, but I just kind of smeared on the flowers and hoped for the best :o)


I'll post a better picture... I'm not thrilled of the quality of the photo. But you get the idea of what the final product looks like.
Flower

Friday, January 16, 2009

I bet your Friday night was more interesting than mine.....

Last night was spent ripping out our celiling in our laundry room. We have already ripped down the walls (as you can see in the first picture) and now it is time for the celiling. Our ceiling has a couple of cracks in it (yay for older homes) so this was the perfect opportunity to re-do it. We are lucky enough to have Jim's dad helping us today putting dry wall on the celiling and the walls.... hence why we ripped it out last night. I didn't want to do it to early because I feared what we would see once we ripped the celing out (nothing really except for a lot of insulation and some dead bugs).

Don't mess with me! :) Drywall,,, I'm coming after YOU
Jimmy and his tools ready to bring the pain to our ceiling
This was after just a few good whacks to the ceiling... it was kind of fun to beat on it a great stress reliever
We blocked off the 3 entrances to the laundry room to try to stop the gross stuff from spreading through the house. It was working well until a piece of drywall ripped it when it fell from the ceiling. Taylor thought it was perfect because she could stick her head in and make sure we were okay.

but Chewie couldn't be left out, so he made the hole bigger by sticking his head through it. Aren't they cutest doggies?


Jim working while I'm taking pictures... imagine that

Right about now is when we had the majority of the insulation start falling... it was pretty damn gross and I think I took 10 years off of my life for breathing it in


This was at the end... you couldn't see the floor and the debris was about 2 feet high. It took forever to clean it up.

All done! I know it isn't easy to figure out what this last picture is, but it is our ceiling and that metal box in the middle is where our light fixture will go. We left some of the insulation up there, but we will replace the layer that will be laying against the new drywall. I'll take pictures once the room is back to normal!!! WoooHooo!!!! Our 10 year project (I kid, I kid... it is more like a 2 year project) is moving again!! Hopefully we'll be done by summer (or before)!

Monday, May 12, 2008

More demolition

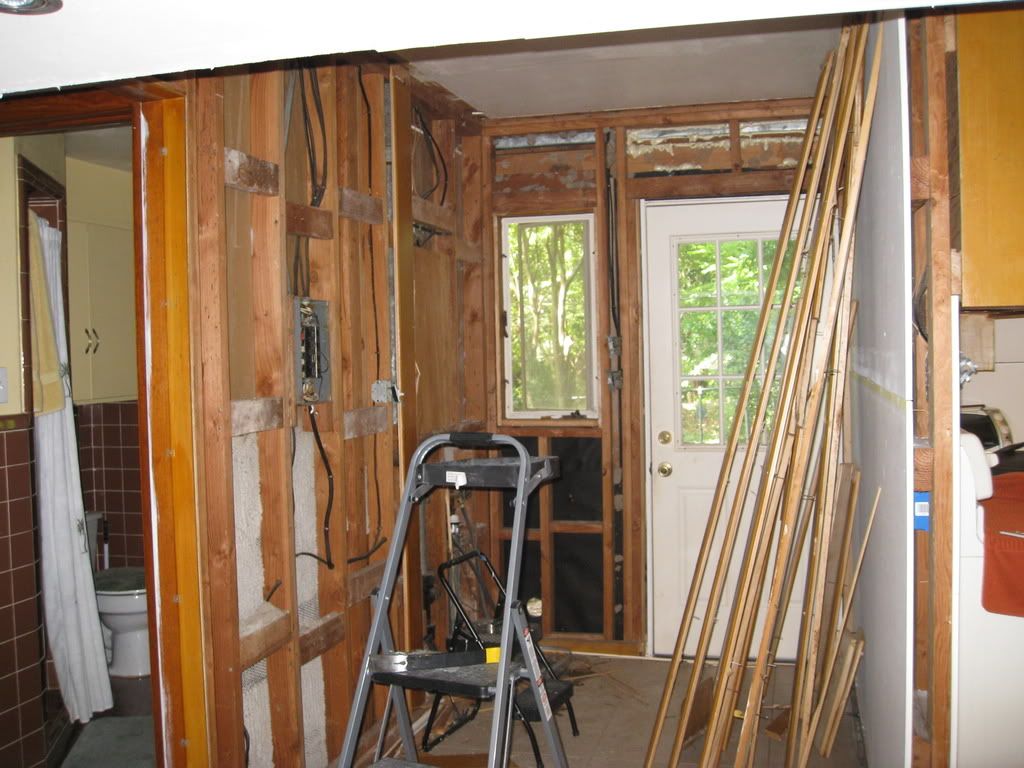
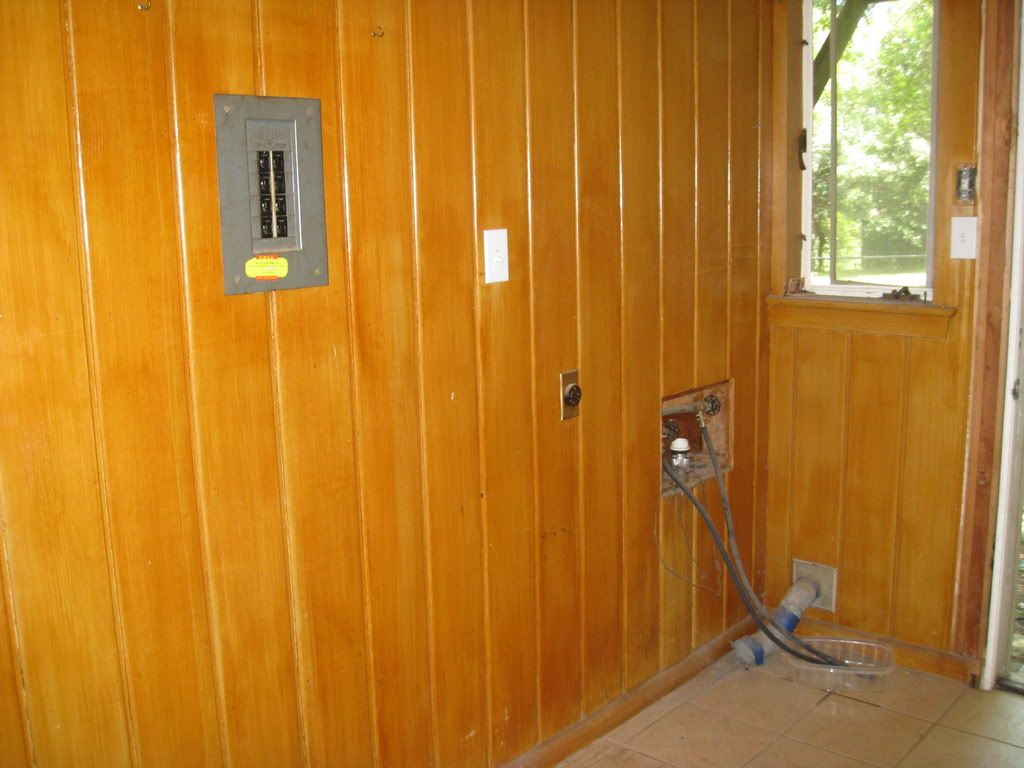
This weekend we worked on the room with the washer and dryer. This room has a lot of electrical outlets, the braker box and the knobs and hoses for the washer. Our main goal was to get all of the wood off of the wall and get the nails out (there is usually 6-10 nails per board). Luckily it went pretty well, and no big disasters.


The room before
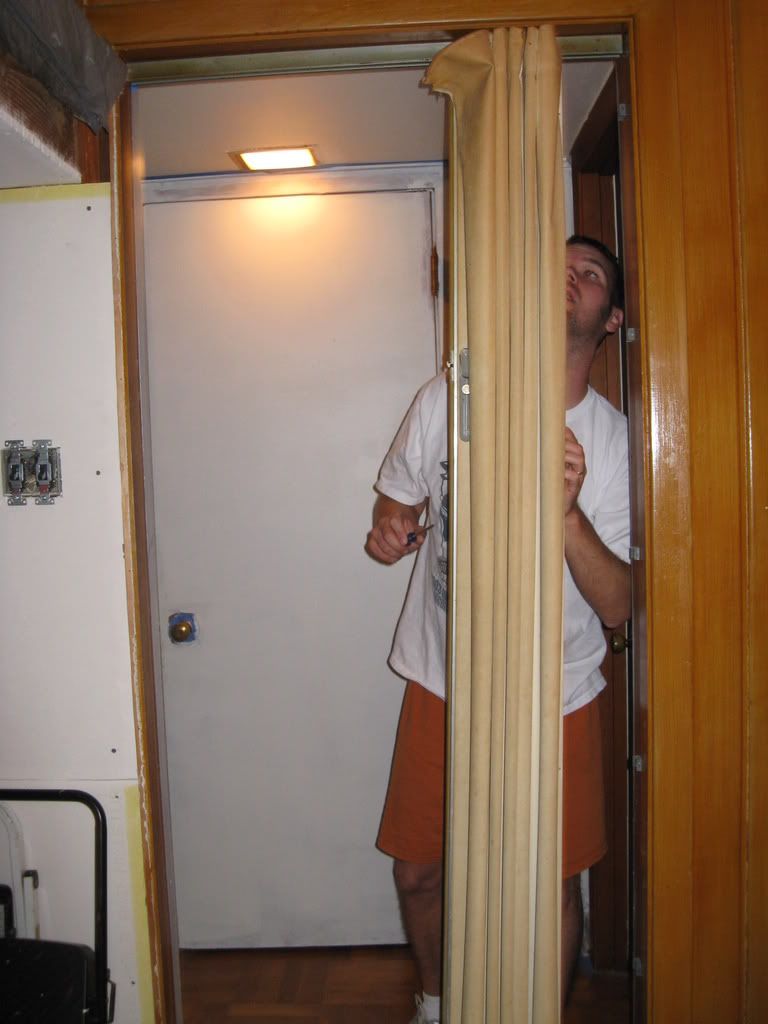
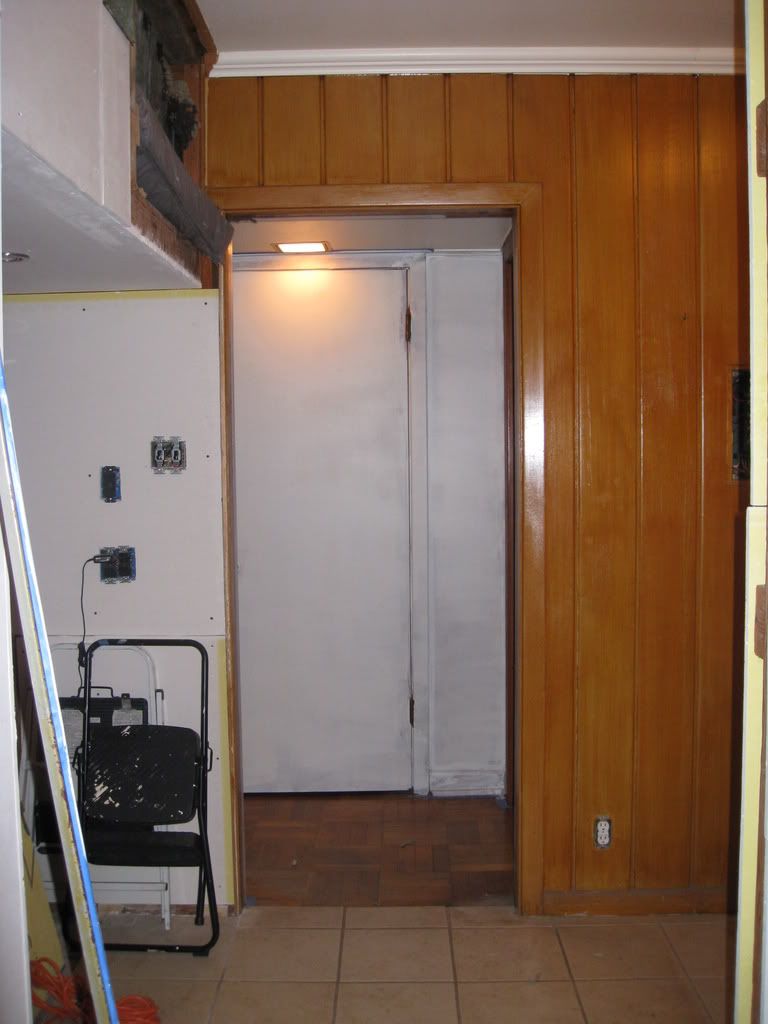
We also took off of the accordian type door. It was helpful, but it was kind of gross and dirty. Once we took it off, it really opened up that door way.

The door after we took of the accordian type door

Hubby the Handy man

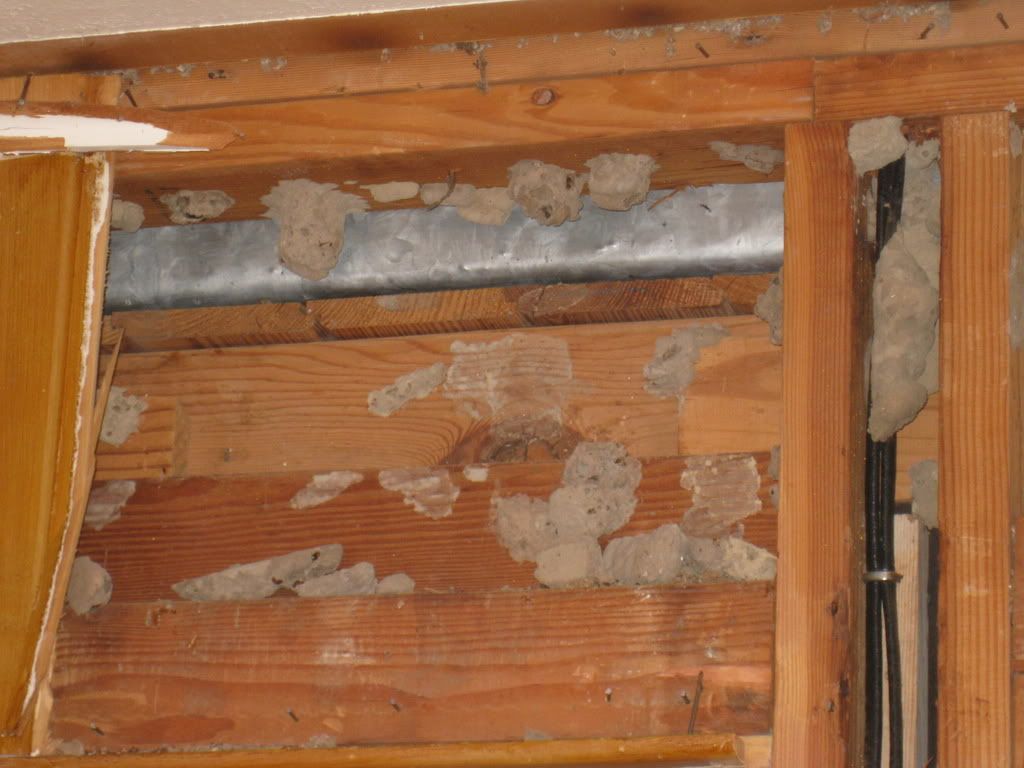
We found LOTS and LOTS of wasps nests once we took off the wood that was above the window. CREEPY! They were empty, but still crazy to think those bugs are calling the insides of our walls home. Before we put the sheet rock up, we are putting foam in all of the cracks as well as adding insulation (which it currently lacked). Hopefully it will save a bit of money on our cooling/heating costs.


After our demolition day!

Monday, February 11, 2008

Home Repairs


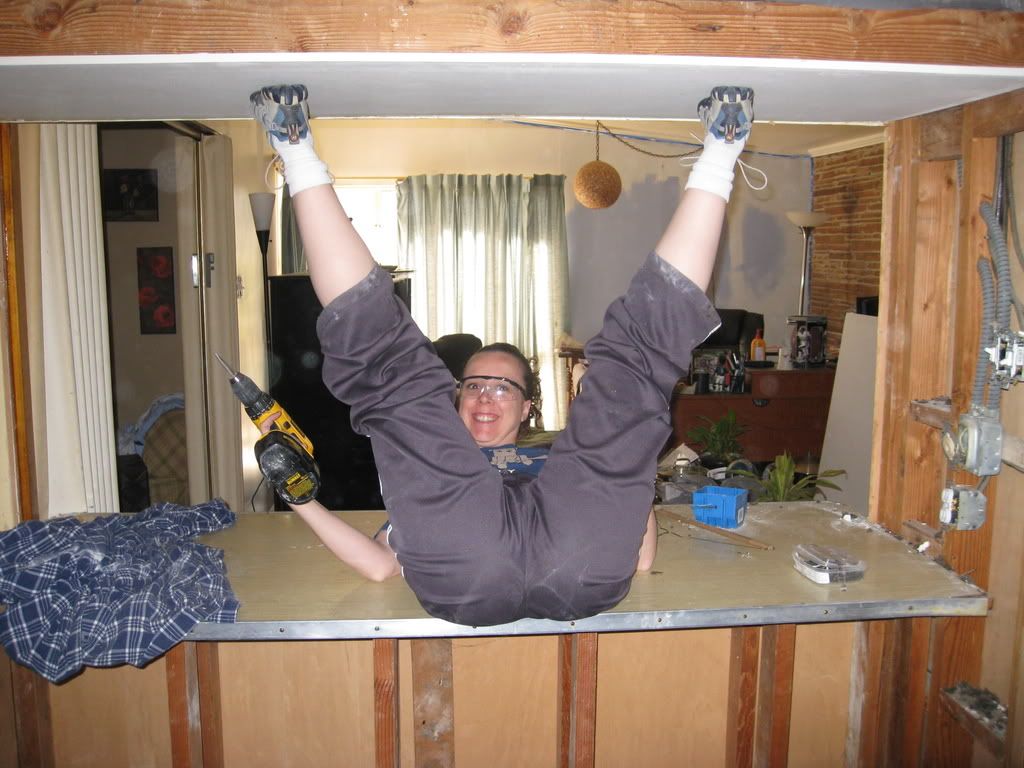
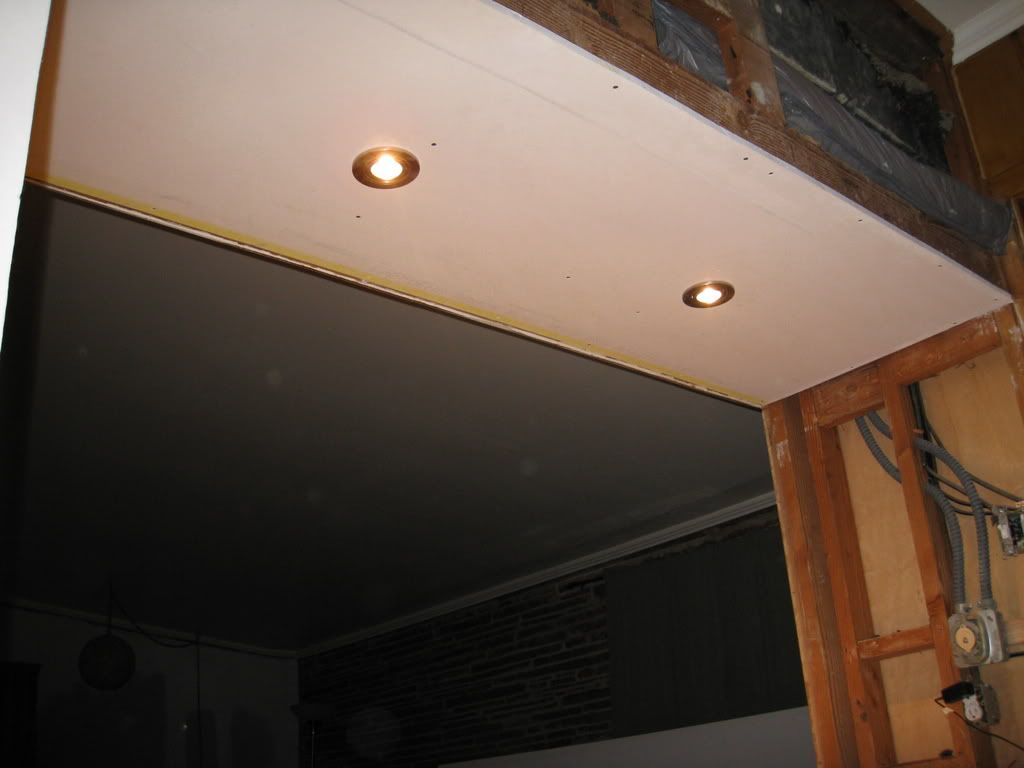
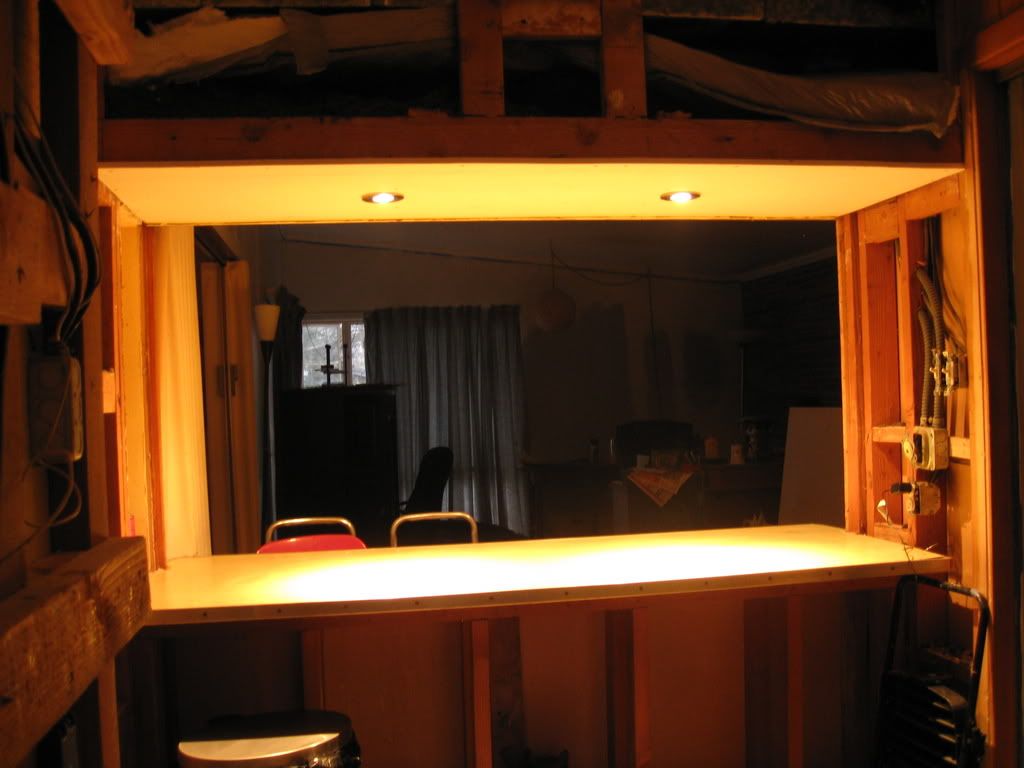
We spent most of our Sunday working on the kitchen.... again! :) This time we took down more wood, patched some holes, used this cool foam to make sure the walls are properly sealed so no critters can get in, put more dry wall up and installed lights over the bar area.

Jim sporting the tool belt

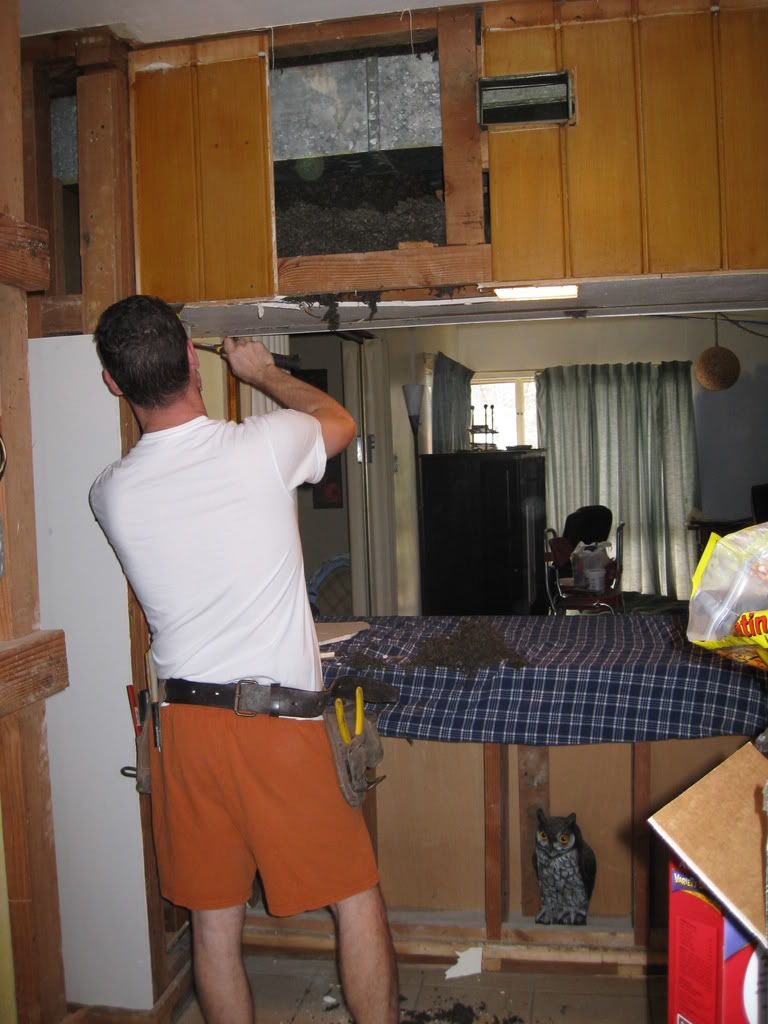
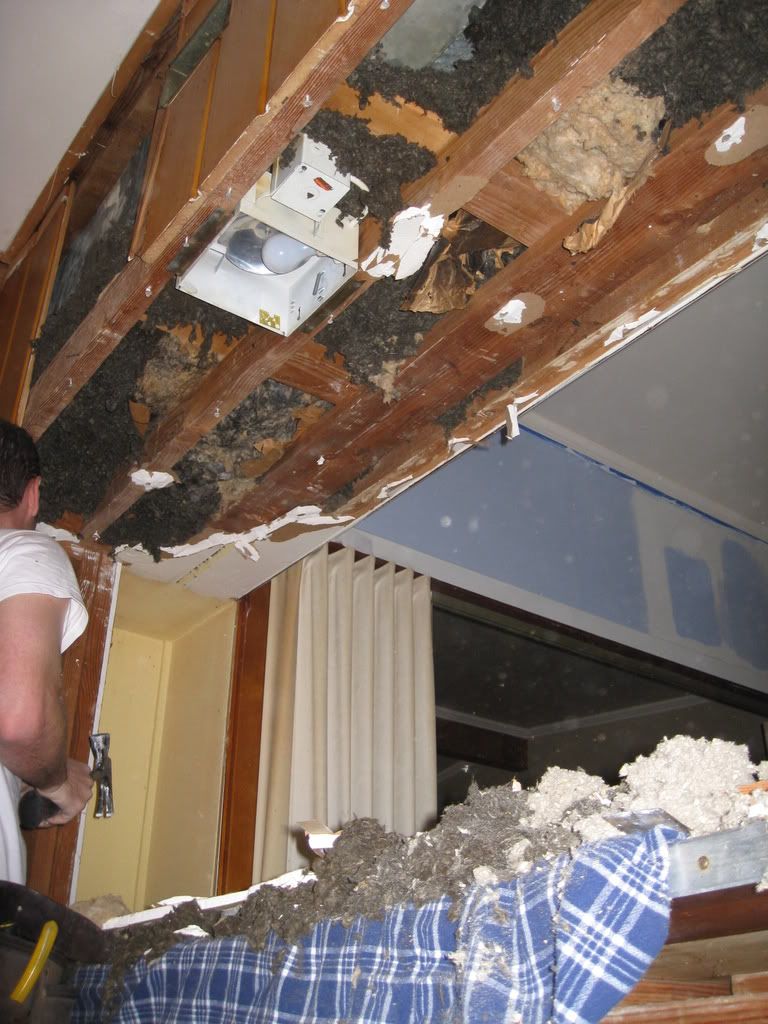
Blech... all of that insulation flew every where when he ripped out the dry wall

I debated long and hard on whether I should post this picture or not.... The first thing I think of when I see this picture is... "Holy shit, does my ass really look that big,,, badonkadoka butt!!!" But I thought this picture was interesting so I swallowed my pride and decided to post this. We had to put up a new piece of dry wall, and my upper body strength isn't great, so I figured I would just hold it up with my legs while Jim put the screws in to hold it up. It actually worked out really well! Now, I'm off to run 1000 miles, do 6000 squats and only consume water. :)
Our new lights! They give off so much light, and are much smaller than the one fixture that was there before. (if you look at one of the pictures above you can see the older fixture)


Ohhhhhh, pretty!